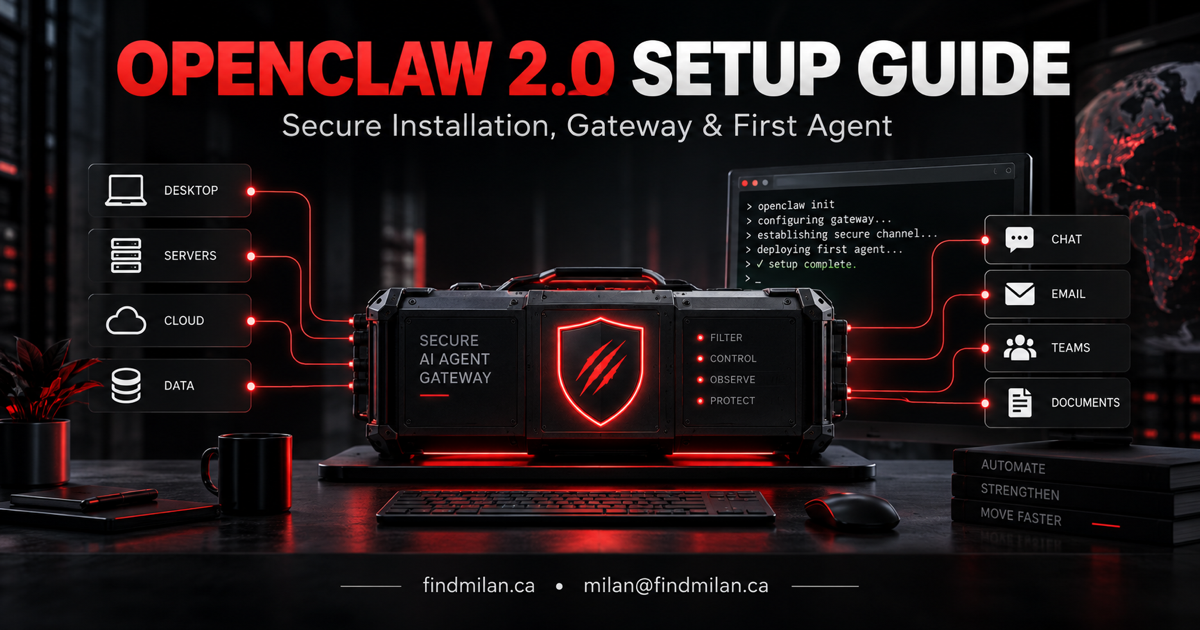
OpenClaw 2.0 can turn a computer or server into a persistent AI workspace, but a useful installation requires more than getting the dashboard to load. The Gateway, model provider, channels, agent permissions, backups, and remote-access path must work together—and each one introduces a security boundary.
This guide explains a practical OpenClaw 2.0 setup from installation through end-to-end verification. It is written for a personal workstation, a dedicated Mac or Linux host, or a private VPS. The goal is a reliable first agent without unnecessarily exposing your system or credentials.
Last verified: September 12, 2026, against the current official OpenClaw installation, onboarding, Gateway, network-exposure, channel, and backup documentation. OpenClaw changes quickly, so confirm the current release notes before modifying a production installation.
OpenClaw 2.0 setup at a glance
| Stage | What you configure | What success looks like |
|---|---|---|
| Plan | Host, users, data, tools, and access boundary | A documented trust model |
| Install | Supported app, installer, package, or container | CLI and required runtime available |
| Onboard | Agent, model provider, credentials, workspace | A real model completion succeeds |
| Secure | Gateway bind, authentication, firewall, sandbox | Only intended users can reach intended tools |
| Connect | Required messaging channels and integrations | Inbound and outbound tests pass |
| Protect | Verified backup and recovery plan | State can be restored without raw live-database copies |
| Verify | Status, logs, permissions, sessions, and workflows | The complete user journey works |
The order matters. Do not start by opening a public port or connecting every available plugin. First prove the smallest private setup, then add one controlled capability at a time.
1. Choose where OpenClaw should run
OpenClaw can run locally or on a remote host. The right choice depends on the work it must perform.
Personal computer
A local installation is the simplest option when one person uses the agent and the required files and applications already live on that machine. Keep the Gateway on loopback, use the local Control UI, and avoid remote access until the basic workflow is stable.
Dedicated local machine
A separate Mac mini or Linux computer is useful when the agent needs to remain online without sharing the operator’s daily workstation. It also creates a clearer boundary around files, credentials, browser profiles, and background services.
Private VPS or cloud server
A VPS works well for always-on automations, webhooks, messaging channels, and server-side workflows. It also carries more responsibility: operating-system updates, firewall policy, SSH access, backups, monitoring, TLS, and incident recovery.
Avoid placing a new agent directly beside sensitive production databases or unrestricted company credentials. A dedicated host with least-privilege access is easier to understand and recover.
2. Define the trust boundary before installation
Write down the answers to these questions:
- Who can message or operate the agent?
- Which files, applications, APIs, and accounts can it access?
- Can it execute commands, use a browser, send messages, or publish content?
- Which actions require human approval?
- Will it accept direct messages, group messages, webhooks, or public traffic?
- Where will credentials and backups be stored?
- What is the recovery path if the host or database fails?
This prevents a common mistake: treating network access as the only security decision. A private Gateway can still be risky if every conversation receives unrestricted shell access or long-lived credentials.
3. Install OpenClaw through a supported path
The official OpenClaw installation guide currently documents desktop applications, an installer script, source installation, Docker, Podman, Nix, and other deployment options. Choose one primary method and record it, because the update and rollback process depends on how OpenClaw was installed.
For macOS, Linux, or WSL2, the guided installer is the shortest supported route:
curl -fsSL https://openclaw.ai/install.sh | bashDo not run an internet installer blindly on a production host. Review the official page, confirm the domain and command, understand what it changes, and use a test environment when the system contains valuable state.
After installation, verify the baseline:
openclaw --version
openclaw doctor
openclaw gateway status
The version proves which CLI is being invoked. Doctor checks common configuration and runtime problems. Gateway status checks whether the service is running, but none of these alone proves that a model or channel works.
4. Complete onboarding with one model provider
The OpenClaw onboarding guide can detect available AI access, ask you to choose a provider, verify the selected connection with a real completion, prepare a workspace, and start the Gateway.
Start with one provider and one model. Adding several providers and fallbacks before the first test makes authentication, billing, routing, and rate-limit failures harder to diagnose.
During onboarding:
- Choose the intended local or remote Gateway mode.
- Select the model provider you actually control.
- Enter credentials through the supported protected flow, not in a chat message or committed configuration file.
- Run the provider verification.
- Confirm the agent workspace and access mode.
- Skip optional channels, plugins, and skills until the core chat works.
If verification fails, resolve that provider instead of allowing the setup to silently substitute another account or model.
5. Keep the Gateway private by default
The OpenClaw Gateway serves the Control UI, WebSocket control plane, HTTP APIs, plugin routes, and tool invocation on the same service. It is not just a static dashboard.
The official network exposure guidance recommends the narrowest practical access pattern:
- Local use: keep
gateway.bindonloopback. - Remote administration: use a loopback Gateway with an SSH tunnel.
- Private device access: prefer Tailscale Serve while the Gateway remains on loopback.
- Private LAN: require authentication and restrict the port to known source addresses.
- Organization access: use an identity-aware reverse proxy with carefully configured trusted proxies.
- Public internet: avoid direct port forwarding; use TLS, authentication, rate limits, strict allowlists, and sandboxed tools.
Never expose an unauthenticated Gateway on 0.0.0.0. A valid Gateway token or password can represent broad operator authority, especially for HTTP tool invocation.
6. Separate network access from agent authority
Authentication answers who can connect. Tool policy answers what a connected person or conversation can make the agent do. You need both.
Review:
- agent access mode and sandbox policy;
- shell and elevated-command permissions;
- browser access and authenticated profiles;
- filesystem boundaries;
- MCP servers and installed skills;
- stored credentials and API scopes;
- session visibility and team roles;
- approval requirements for consequential actions.
Start with the smallest tool profile that supports the first workflow. Add permissions only after a real task demonstrates the need. Publishing, sending external messages, deleting data, changing infrastructure, and spending money should have explicit approval boundaries.
Run the security checks described in the official Gateway exposure runbook:
openclaw doctor
openclaw security audit
openclaw security audit --deep
openclaw health
Treat critical findings as blockers. Document intentional warnings rather than ignoring them.
7. Add one messaging channel at a time
OpenClaw connects messaging channels through the Gateway. The official channel overview covers Telegram, WhatsApp, Slack, Discord, iMessage, Google Chat, Microsoft Teams, and other integrations.
Each channel differs. Telegram uses a bot token. WhatsApp uses QR pairing and retains additional local state. Some channels are built in, while others require an official or external plugin and a Gateway restart.
For every channel:
- Confirm the official setup path and required permissions.
- Restrict who can message the bot using pairing or an allowlist.
- Decide whether groups are allowed and whether mentions are required.
- Send one inbound message from an approved account.
- Confirm the correct agent and session receive it.
- Send a harmless response and verify delivery in the real destination.
- Restart the Gateway and confirm the channel recovers cleanly.
Configuration presence is not proof of delivery. Test the entire path.
8. Create and verify a real backup
OpenClaw stores authoritative state in SQLite. The official backup documentation warns against copying live SQLite database files because active writes can produce a torn or corrupt backup.
Use the supported backup workflow instead:
openclaw backup create --output /path/to/protected-backups --verifyA backup may contain provider credentials, channel credentials, sessions, and workspace data. Encrypt it, restrict access, keep an off-host copy where appropriate, and test the documented restore process before relying on it.
For an upgrade, retain the previous installation method, version, configuration, and a verified backup until post-update testing passes.
9. Verify the complete OpenClaw setup
Use this acceptance checklist:
openclaw --versionreports the intended version.openclaw doctorhas no unexplained critical findings.openclaw gateway status --require-rpcproves authenticated RPC access.- A safe prompt returns a response from the intended model and account.
- The correct workspace and agent are active.
- Unauthorized users or devices cannot reach the Gateway.
- The intended tools work and prohibited tools remain unavailable.
- Each required channel passes inbound and outbound delivery tests.
- Sessions and memory behave within the expected privacy boundary.
- A supported backup completes and verifies successfully.
- Logs show no repeated auth, database, provider, channel, or proxy failures.
The distinction matters: a running process is not the same as a working agent. A working chat is not the same as a secure deployment. A successful backup command is not the same as a recoverable system.
When professional OpenClaw setup helps
The basic local path can be quick. A production-ready setup becomes more involved when it includes a VPS, reverse proxy, multiple users, several messaging channels, browser automation, business integrations, scheduled work, existing data, or high-impact tools.
I provide OpenClaw setup and support for local and hosted installations, model providers, private remote access, messaging channels, skills, automations, migrations, troubleshooting, backups, and end-to-end verification. You can also review my OpenClaw and Hermes implementation project or book a free strategy call to plan the safest architecture for your workflow.
Official sources
Frequently asked questions
What is the safest way to install OpenClaw 2.0?
Use an installation method supported by the official OpenClaw documentation, complete guided onboarding, keep the Gateway bound to loopback by default, enable authentication, and verify the model connection before adding channels or tools.
Should I expose the OpenClaw Gateway to the public internet?
Direct public exposure is rarely appropriate. Prefer loopback access with an SSH tunnel or Tailscale Serve. If remote exposure is required, use an identity-aware proxy, TLS, strict firewall rules, authentication, rate limits, and narrowly scoped agent tools.
How do I verify that OpenClaw is working?
Check the installed version, run OpenClaw Doctor, verify Gateway status with an RPC check, send one safe model request, probe each required messaging channel, test permissions, and inspect logs. A dashboard that merely loads is not end-to-end proof.
Do I need a backup before updating OpenClaw?
Yes. OpenClaw stores important state in SQLite databases and may also hold credentials, sessions, channel data, and workspaces. Use the supported backup command with verification instead of copying live SQLite files.
Can OpenClaw connect to Telegram, WhatsApp, Slack, or Discord?
OpenClaw supports multiple messaging channels through the Gateway, but each channel has different installation, authentication, pairing, and persistence requirements. Add only the channels you need and test inbound and outbound messages after configuration.